This article is now outdated and has been replaced
This article was more popular than we expected and as we added more content grew beyond the size of a blog post.
It is now available on it's own mini site at https://rust-on-nails.com
The old article
To build a web application you need to make architecture decisions across a range of topics. The beauty of Ruby on Rails or Django is that they make those decisions for you so you can start building your web application straight away. They also back those decisions up with great documentation.
Rust on Nails is a framework leveraging existing solutions that fulfil the needs of a full stack development. We look at each decision that needs to be made then pull in solutions and package everything up so that it works together. It's an opinionated framework and it's how Cloak was built see the Cloak Github Repo.
Here's a breakdown of the services, decisions and best practices covered.
- Development Environment as Code
- The Web Server and Routing
- Choosing a Database
- Configuration
- Database Migrations
- Database Access
- HTML Templating
- Form Handling and Validation
- Asset Pipeline
- Cache busting and images
- Layouts
- Front End Enhancement
- Partials and Components
- Sending Email
- Authentication
- Integration Tests
Let's get started.
Development Environment as Code.
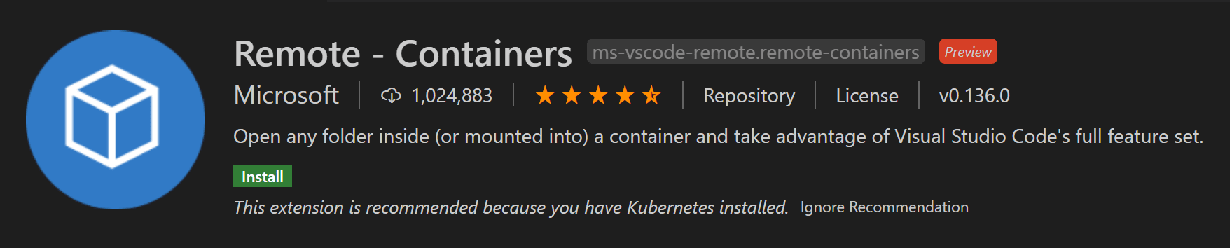
The Visual Studio Code Remote - Containers extension lets you use a Docker container as a full-featured development environment. This fixes the following problems
- Enables developers other than yourself to get quickly up to speed
- Stops issues such as "It works on my machine"
- Allows you to check your development environment into git.
Install the devcontainer extension in VSCode and then setup a Rust environment.
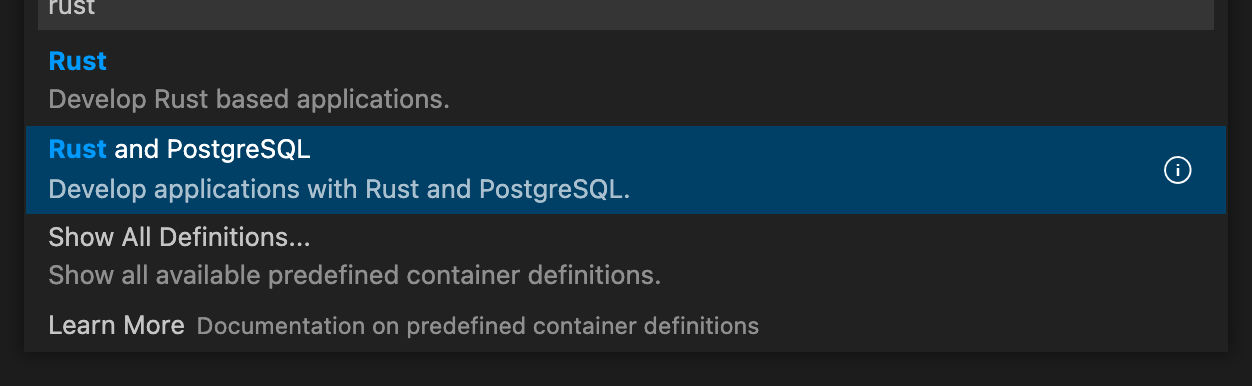
The select Open folder in container... Select Rust and Postgres. Also select node on the next menu.
How you folder structure will look.
We are going to create a workspace for our web application. Create a new Cargo.toml file in the root folder and add the following.
[]
= [
"app",
]
The run the following command.
$ cargo new app
You should now have a folder structure like the following.
Test out you development environment with
$ cargo run
   Compiling app v0.1.0 (/workspace/app)
    Finished dev [unoptimized + debuginfo] target(s) in 1.16s
     Running `target/debug/app`
Hello, world!
The Web Server and Routing
We looked at Actix Web, Tokio Axum and Rocket. Axum was chosen as it's very actively maintained and has the fastest incremental build times.
Most rust web server project operate in a similar way. That is you configure a route and a function that will respond to that route.
The functions that respond to routes can have parameters. These parameters which might be structs, database pools or form data are passed to the function by the framework.
Add the following to your app/Cargo.toml.
[]
= "0"
= { = "1", = false, = ["macros", "rt-multi-thread"] }
And update your app/src/main.rs
use ;
use SocketAddr;
async
async
Issue the command
And you should be able to point your browser at http://localhost:3000 and see the web server deliver Hello World.
The Database
If you're not sure which database to use then use Postgres.
The architecture doesn't stop you using MySQL (MariaDB?) or other relational databases. However a relational database is the recommendation.
We already installed Postgres when we installed our devcontainer, however we didn't install the Postgres command line client. To do that, add the following to your .devcontainer/Dockerfile.
# Install psql 14
RUN sh -c 'echo "deb http://apt.postgresql.org/pub/repos/apt $(lsb_release -cs)-pgdg main" > /etc/apt/sources.list.d/pgdg.list' \
   && wget --quiet -O - https://www.postgresql.org/media/keys/ACCC4CF8.asc | apt-key add - \
   && apt-get -y update \
   && apt-get -y install postgresql-client \
   && apt-get autoremove -y && apt-get clean -y
Add the following to your .devcontainer/.env
DATABASE_URL=postgresql://postgres:postgres@db:5432/postgres?sslmode=disable
Restart your devcontainer and you should now have access to Postgres. i.e.
psql $DATABASE_URL
psql (14.2 (Debian 14.2-1.pgdg110+1), server 14.1 (Debian 14.1-1.pgdg110+1))
Type "help" for help.

postgres=# \dt
Did not find any relations.
postgres=# \q
We will use this pattern over and over. When we add a tool to our solution we add it to the devcontainer this ensures we can always reproduce our development environment.
Configuration
To configure our application we pull in environment variables a create a Rust struct. Create a app/src/config.rs.
Database Migrations
Dbmate is a database migration tool, to keep your database schema in sync across multiple developers and your production servers.
Add the following to your .devcontainer/Dockerfile and rebuild your devcontainer
RUN sudo curl -fsSL -o /usr/local/bin/dbmate https://github.com/amacneil/dbmate/releases/latest/download/dbmate-linux-amd64 \
   && sudo chmod +x /usr/local/bin/dbmate
After that we can setup our migrations folder and the create a users migration.
$ dbmate new create_users_table
Creating migration: db/migrations/20220330110026_create_users_table.sql
Edit the SQL file that was generated for you and add the following.
-- migrate:up
(
id SERIAL PRIMARY KEY,
email VARCHAR NOT NULL UNIQUE,
hashed_password VARCHAR NOT NULL,
reset_password_selector VARCHAR,
reset_password_verifier_hash VARCHAR,
created_at TIMESTAMP NOT NULL DEFAULT NOW,
updated_at TIMESTAMP NOT NULL DEFAULT NOW
);
(
id SERIAL PRIMARY KEY,
session_verifier VARCHAR NOT NULL,
user_id INT NOT NULL,
otp_code_encrypted VARCHAR NOT NULL,
otp_code_attempts INTEGER NOT NULL DEFAULT 0,
otp_code_confirmed BOOLEAN NOT NULL DEFAULT false,
otp_code_sent BOOLEAN NOT NULL DEFAULT false,
created_at TIMESTAMP NOT NULL DEFAULT NOW
);
-- migrate:down
sessions;
users;
List the migrations so we can see which have run.
$ dbmate status
[ ] 20220330110026_create_users_table.sql

Applied: 0
Pending: 1
Run our new migration.
$ dbmate up
Applying: 20220330110026_create_users_table.sql
And check that it worked.
$ psql $DATABASE_URL -c 'SELECT count(*) FROM users;'
 count
-------
     0
(1 row)
Your project folders should now look like this.
Database Access
SQLx is amazing. It's An async, pure Rust SQL crate featuring compile-time checked queries without a DSL. Supports PostgreSQL, MySQL, SQLite, and MSSQL.
Add the following to your app/Cargo.toml
sqlx = { version = "0", default-features = false, features = [ "runtime-tokio-rustls", "postgres", "macros", "chrono" ] }
Add the following code to a file called app/src/models/user.rs
use ;
You'll also need to create a file called app/src/models/mod.rs and add the following
pub mod user;
We recommend creating a folder called models and adding a file for each type of entity you will manipulate with SQLx.
Now we can tie our database and front end together. Update your app/src/main.rs to become
use Extension;
use ;
use PgPool;
use SocketAddr;
async
async
The main thing to note here is that our handler gets passed in a database connection auto magically by the framework.
We also need to create a place to hold our application errors. Create a file called app/src/error.rs like so.
use ;
use StatusCode;
// So that errors get printed to the browser?
// Any errors from sqlx get converted to CustomError
Execute cargo run and you can access the application from http://localhost:3000 in your browser.
HTML Templating
Because Rust supports macros we can create a DSL to handle our templating needs. This means we can leverage the Rust we already know to create loops and if statements.
We will use markup.rs. Add the following to your app/src/Cargo.toml.
= "0"
Markup templating syntax looks like what we see below. We can re-use our existing Rust knowledge for conditions and loops and get compile time help at the same time.
define!
Forms
Axum has support for Handlers. We can use those in a lot of different ways and one way is for form implementations. The example below shows how we use a struct to handle the form data passed in to the accept_form function.
use ;
use Deserialize;
async
let app = new.route;
Asset Pipeline
The asset pipeline provides a framework to concatenate and minify or compress JavaScript and CSS assets. It also adds the ability to write these assets in other languages and pre-processors such as Typescript and Sass.
I've used Parcel on several projects and before that Webpack. I've found Parcel to be easier to use and so that is the recommendation for Nails.
To install parcel
Now create an app/asset-pipeline/index.ts
And also app/asset-pipeline/scss/index.scss
h1
Add a scripts section to your package.json
"scripts": ,
And now when you run npm run start parcel will generate your assets into the dist folder. We should also update our ./.gitignore to exclude the generated files.
/target
.parcel-cache
/app/dist
node_modules
Create an empty images folder in app/asset-pipeline/images then your project should now look something like this.
Cache Busting and Images
Cache busting is where we invalidate a cached file and force the browser to retrieve the file from the server. We can instruct the browser to bypass the cache by simply changing the filename. To the browser, this is a completely new resource so it will fetch the resource from the server. The most common way to do this is to add the hash of the file to the URL.
What we can do with Rust is take advantage of the build.rs mechanism which runs some code before each compile. We can generate a set of function that let us retrieve our assets and generate the necessary hashes at the same time. So for example to use the index.css in our code it would be nice to be able to call something like.
get_index_css // Returns the URL with the hash.
The code for this is quite large so I won't publish it here. Please check out https://github.com/purton-tech/cloak/blob/main/app/build.rs for a full implementation.
You'll also need to add the following to your app/Cargo.toml
tower-http = { version = "0", default-features = false, features = ["fs", "trace"] }

[build-dependencies]
sha1 = "0"  # Use by build.rs for cache busting.
Now when your build your project a helper class will be created which we will use in the next section.
Layouts
Layouts are pieces that fit together (for example header, footer, menus, etc) to make a complete view. An application may have as many layouts as needed.
In Nails a layout is just a function that takes HTML content and returns more HTML content. Let's put together our cache busting strategy with our asset pipeline into a Layout we can use.
Create app/src/layout.rs with the following
use Html;
define!
And we need to change our app/src/main.rs to include the routes for our asset pipeline and to call out to the new layout.
use Extension;
use ;
use PgPool;
use SocketAddr;
async
async
// Error here disabled with "rust-analyzer.diagnostics.disabled": ["macro-error"]
// in .vscode/settings.json
Front end enhancement
Sometimes you need to enhance server side generated HTML. There are many ways to do this for example Stimulus, which I've used on multiple projects.
However all modern browser come with web components built in and as they are pretty simple to use it makes sense to implement client side enhancement using this technology.
An example of a very simple component create the following in app/src/asset-pipelibne/components/hello_world.ts.
//define a class extending HTMLElement
//register the new custom element
'hello-world', HelloWorld
Include the element into your app/src/asset-pipeline/index.ts i.e.
To use the element
Partials and Components
Partials in Rails are a way to split your templating into more manageable chunks. We can get the same thing in Rust by using functions. So if you have a piece of template you repeat often, this can be refactored into a function.
It's a similar process for components. With markup.rs we can create use our existing templating to make libraries of reusable components.
Example 'Footer' component.
Sending Email
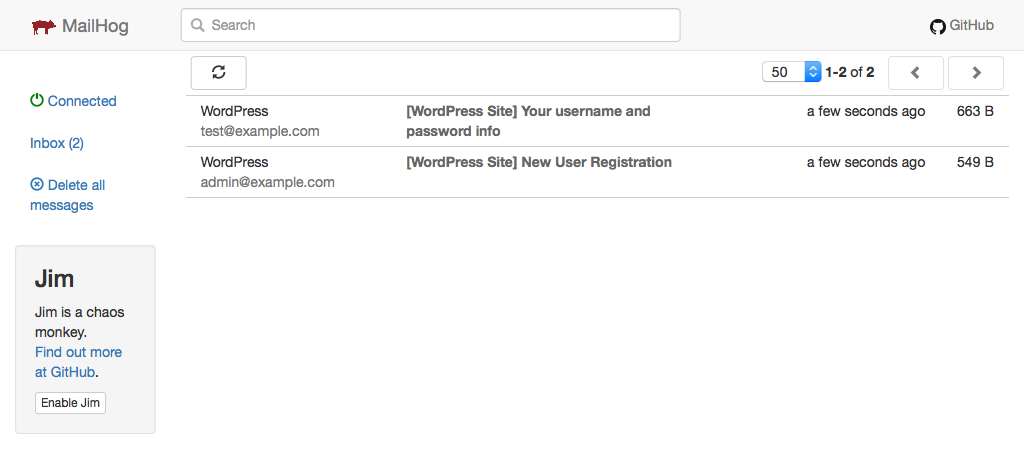
We can use the excellent library Lettre for sending emails. I recommend installing Mailhog into your .devcontainer/docker-compose.yml as an email catcher.
Simply add the following config.
# MailHog is an email testing tool for developers.
smtp:
    image: mailhog/mailhog
Then update your .devcontainer/.env with some email configuration env vars.
SMTP_HOST: smtp
SMTP_PORT: 1025
SMTP_USERNAME: thisisnotused
SMTP_PASSWORD: thisisnotused
SMTP_TLS_OFF: 'true'
We then update our app/src/config.rs.
use env;
Create a helper function for email in app/src/email.rs.
use Credentials;
use ;
We should now be able to form a message and call our helper function and see the results in Mailhog.
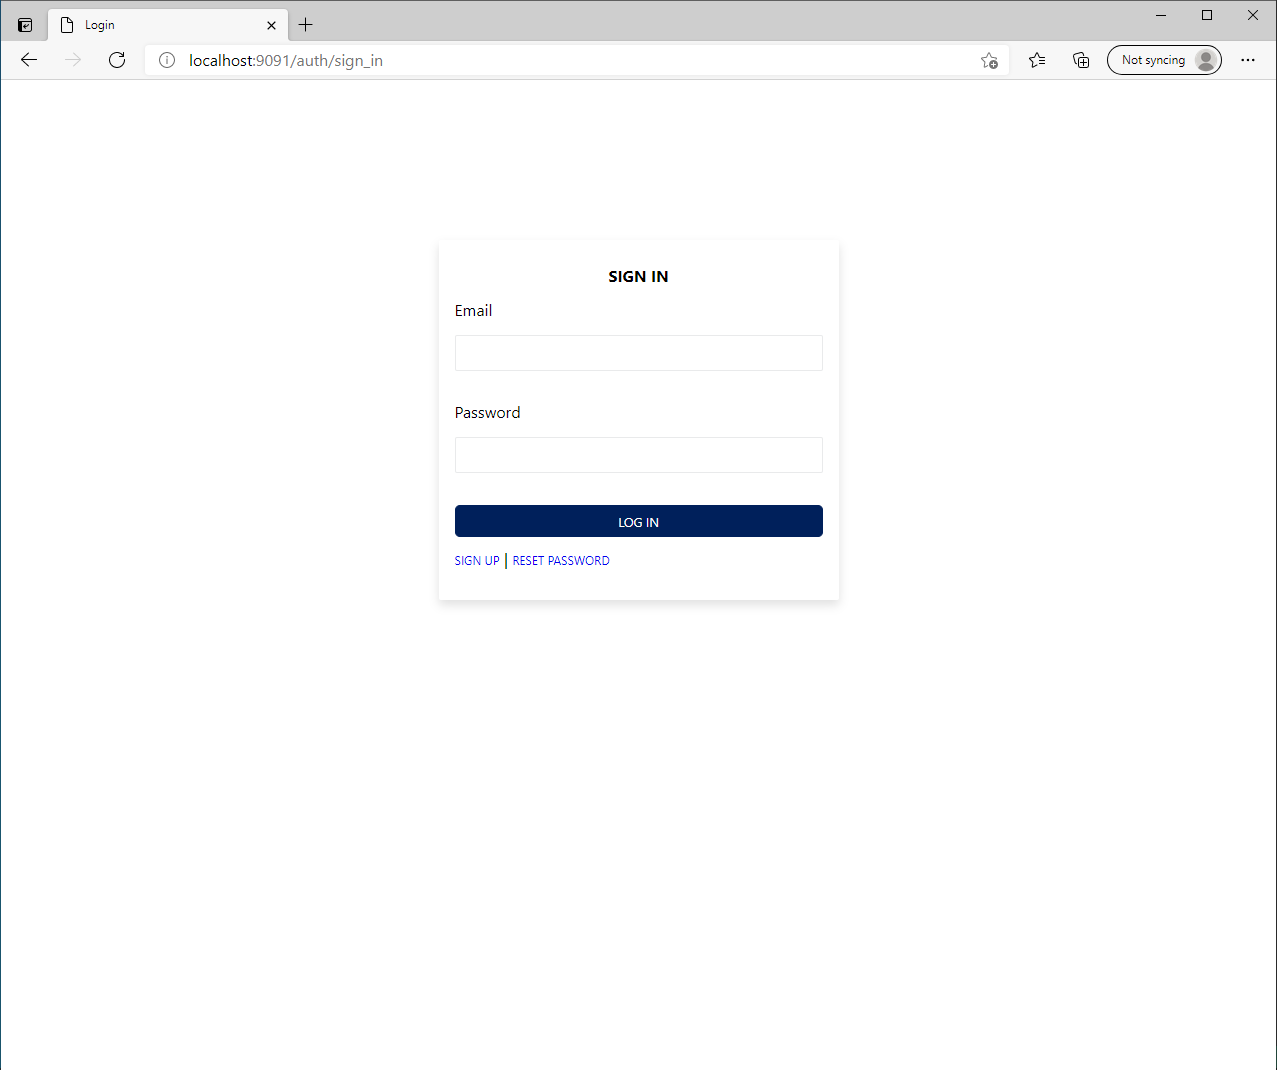
Authentication
Probably the quickest way to add authentication to an application is with Barricade. Barricade handles login and registration pages and connects to your Postgres database.
We've already created the tables that Barricade needs in the migrations section. so we just need to add configuration .devcontainer/docker-compose.yml.
  auth:
    image: purtontech/barricade:1.2.0
    env_file:
        - .env
    depends_on:
      db:
        condition: service_healthy
We also need to add a health check to our db section so that we know when the database is ready.
db:
...
healthcheck:
test:
interval: 10s
timeout: 5s
retries: 5
Add the following to you .devcontainer/.env
# Barricade config
SECRET_KEY=190a5bf4b3cbb6c0991967ab1c48ab30790af876720f1835cbbf3820f4f5d949
ENABLE_EMAIL_OTP='true'

FORWARD_URL=app
FORWARD_PORT=3000
# Any requests that meet the following regular expressions
# with pass through. i.e. They don't require auth.
SKIP_AUTH_FOR=/static*
REDIRECT_URL='/'

# Send all email to mailhog
SMTP_HOST=smtp
SMTP_PORT=1025
SMTP_USERNAME=thisisnotused
SMTP_PASSWORD=thisisnotused
SMTP_TLS_OFF='true'
RESET_DOMAIN=http://localhost:7100
RESET_FROM_EMAIL_ADDRESS=[email protected]
After rebuilding your devcontainer you will need to register as a user. Make sure you server is running again i.e.
Expose port 9090 from your devcontainer then go to http://localhost:9090 and sign up.
Integration Tests
Integration tests are used to test application from top to bottom. That means simulating the browser across important workflows as if it was a real user. We will use Selenium as our headless browser.
Add the Selenium docker container to .devcontainer/docker-compose.yml and restart your devcontainer. Note the No VNC and VNC comments, the selenium container allows us to connect via VNC to the container so we can actually see the browser as it performs the tests. The No VNC port means we don't even have to install VNC. You can connect with a browser to this port and use the No VNC browser client.
  # Integration testing using a headless chrome browser
  selenium:
    image: selenium/standalone-chrome:4.1.1-20220121
    shm_size: 2gb
    environment:
      VNC_NO_PASSWORD: 1
    ports:
      # VNC
      - 5900:5900
      # No VNC
      - 7900:7900
We can write our tests in Rust using ThirtyFour which is a Selenium / WebDriver library for Rust, for automated website UI testing.
Add the following to bottom of app/Cargo.toml.
[dev-dependencies]
# WebDriver Library for UI testing.
thirtyfour = { version = "0", default-features = false, features = [ "reqwest-rustls-tls", "tokio-runtime" ] }
We need a helper class to configure our selenium driver. Add the following to app/tests/config.rs.
use env;
use *;
Create the following example test in app/tests/example_test.rs.
use *;
// let's set up the sequence of steps we want the browser to take
async
async
Point your browser at http://localhost:7900 to view the tests. Run the test from the app folder with cargo test
Production Example Cloak Integration Tests and Cloak docker-compose.yml